Scenario: Reactions are automations programmed into Desigo CC that execute a command, or a series of commands, when specified conditions occur on the site.
Reference: For background information, see the reference section.
Workflow diagram:
Prerequisites:
You have the license and application rights to configure reactions.
You must configure at least one input trigger for the reaction—otherwise it will never execute.
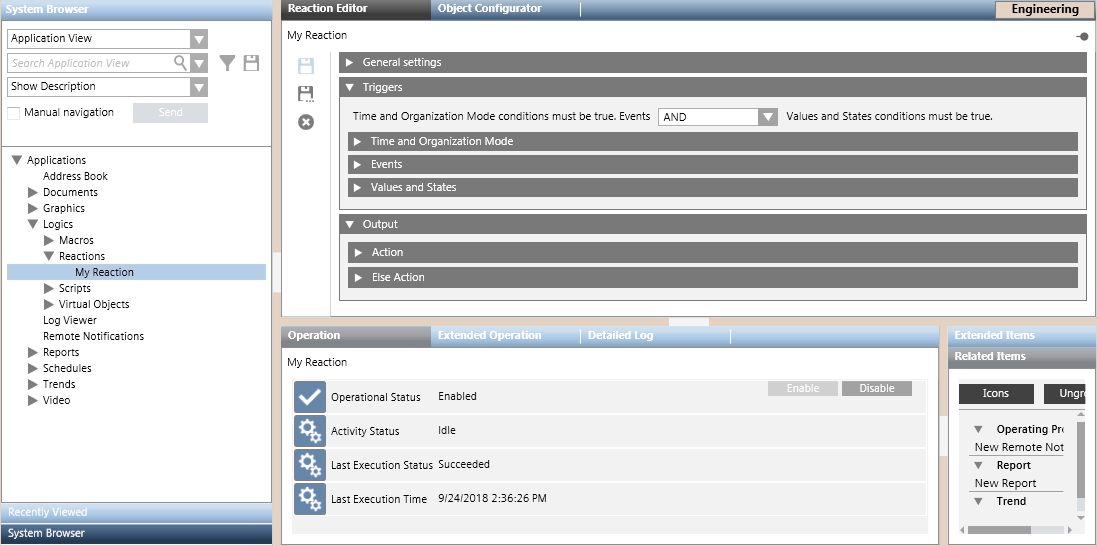
In the Reaction Editor tab, open the Triggers expander. Here you can configure in what situations you want the reaction to execute. For details, see Input Triggers of a Reaction. Do one or more of the following:
In the Time and Organization Mode expander, you can specify any time-dependent pre-conditions of the reaction. For details, see Time and Organization Mode Conditions.
In the Events expander you can specify the combination of events that will trigger the reaction. For details, see Events Conditions.
In the Values and States expander, you can and specify the field conditions that will trigger the reaction. For details, see Values and States Conditions.
Use the AND/OR drop-down list at the top to specify the Boolean logic between the triggers: Time and Organization Mode conditions must be true. Events AND/OR Values and States conditions must be true.
You must configure at least one Action output instruction to be able to save the reaction.
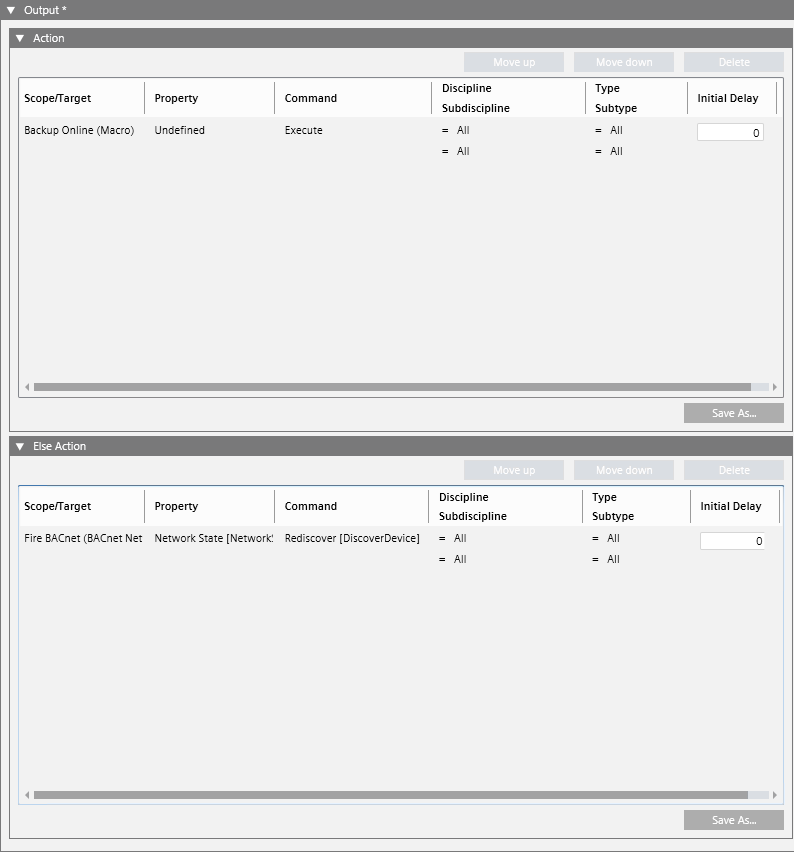
In the Reaction Editor tab, open the Output expander. Here you can configure what commands will be executed when the reaction is triggered (Action). You can also optionally configure commands to execute when it is not triggered (Else Action). For details, see Output Instructions of a Reaction.
In System Browser, select the Manual navigation check box.
In the Output expander, open the Action and Else Action expanders.
To add a new instruction to the reaction output: a. Drag-and-drop the desired target object from System Browser into the empty area inside the Action or Else Action expander. This will cause a new row to be created. b. Configure the other fields in the row to set what Property of the Target objects will be affected, and the Command to send. c.(Optional) Filter by Discipline/Subdiscipline and Type/Subtype. This will cause the command to only be sent to target objects that match those criteria. d.(Optional) In the Initial Delay field, set an initial delay before the command is sent out.
Repeat step 4 above to add other instructions.
To add a macro instruction to the reaction output: a. In System Browser, expand Applications > Logics > Macros. b. From here, drag-and-drop the wanted macro into the empty area of the Scope/Target column in the Action expander or Else Action expander. This will cause the Action expander or Else Action to display a new instruction (row) which invokes the selected macro instruction.
Repeat step 6 above to add other macro instructions.
(Optional) Use the Move Up and Move Down buttons to change the order of the instructions. Use Delete to remove any unwanted instructions.
In the Notes field, enter a description of what this reaction does.
Click Save or Save As.
(Only for Save As) In the Save Object As dialog box: a. Select the main Reactions folder or any subfolder under it. b. Enter a name and description. c. Click OK.
Newly created reactions are enabled by default. To disable a reaction to prevent it from executing for the time being, see Enabling or Disabling Reactions.
 .
.

 or Save As
  .
.